
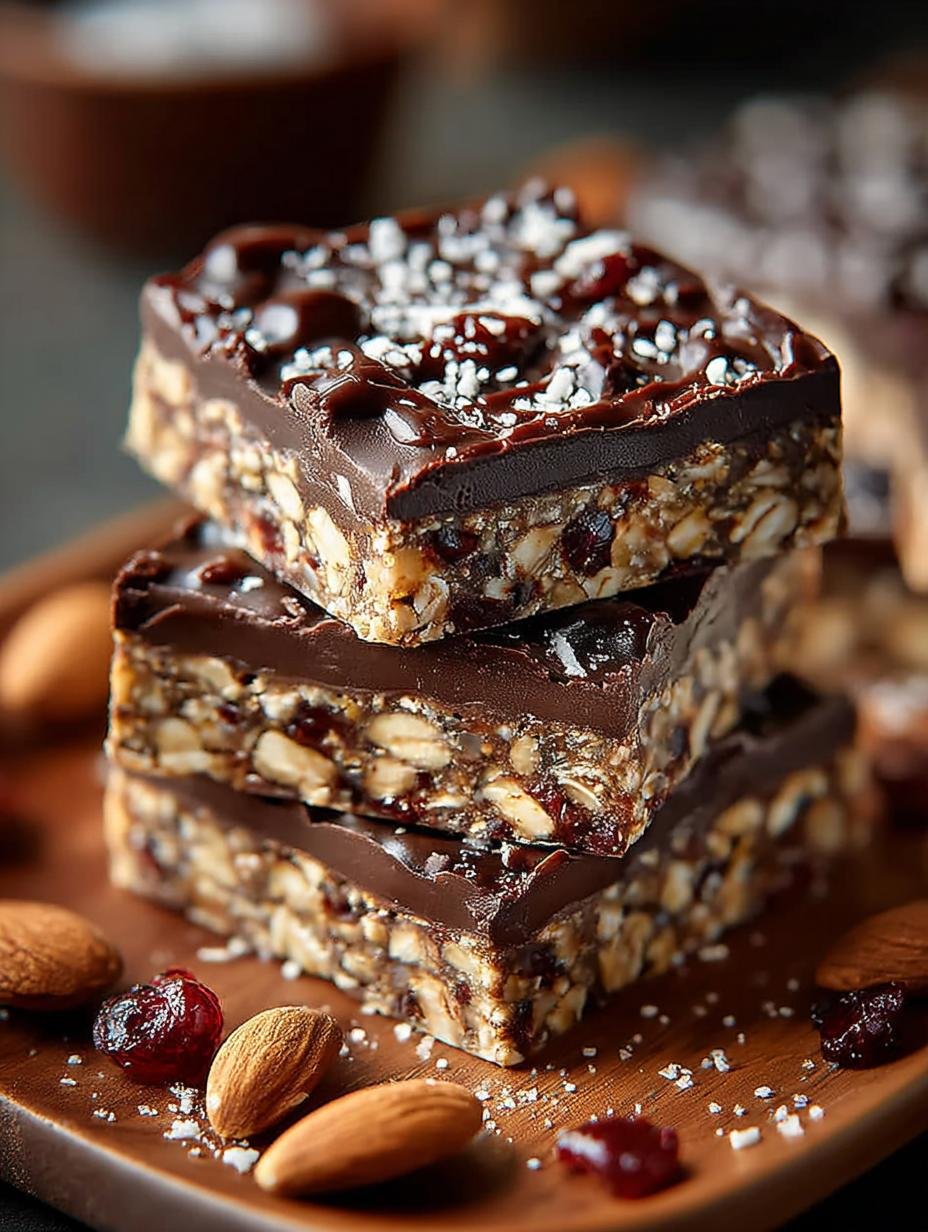
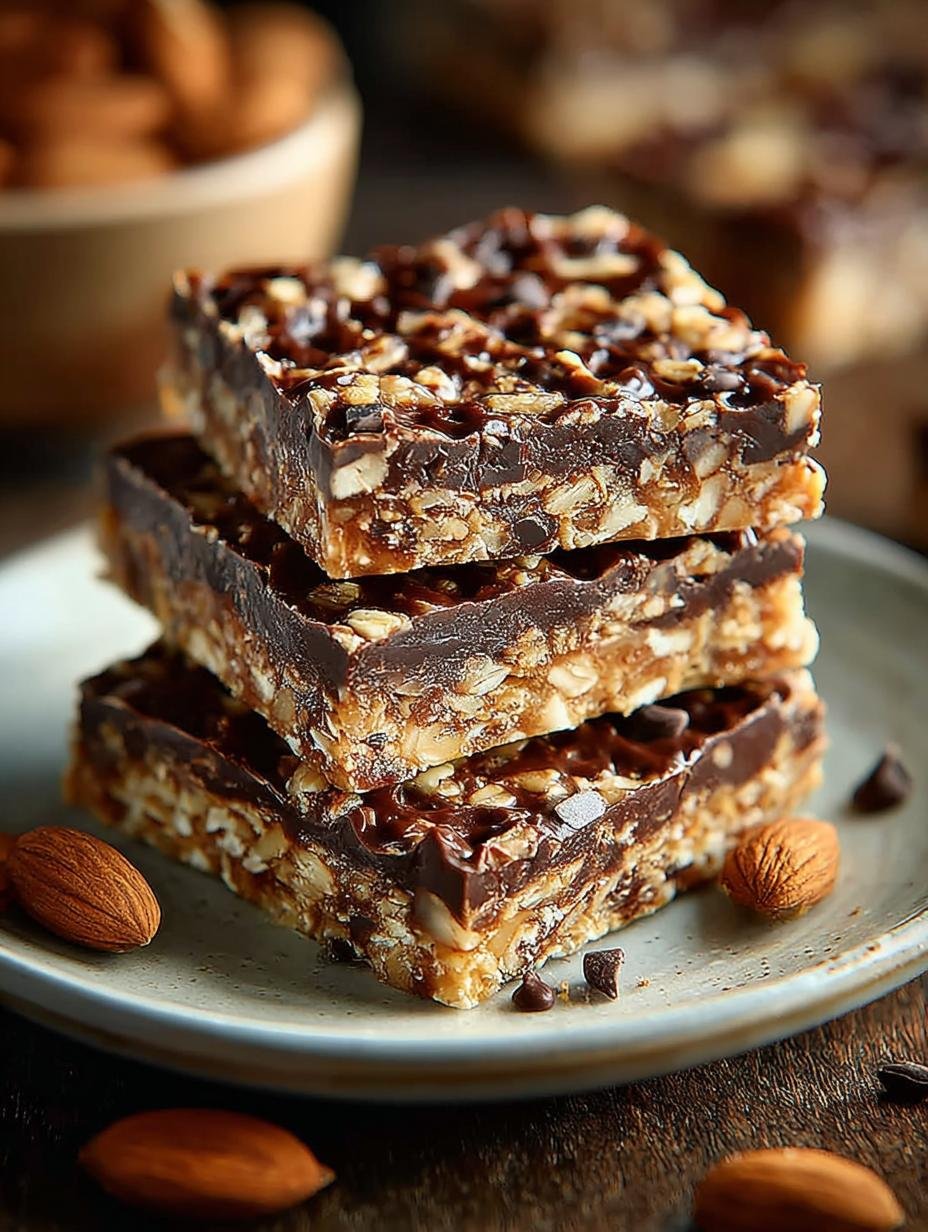
Bake Chocolate Oat Bars are an absolute delight that combines the rich taste of chocolate with wholesome oats. This easy no-bake recipe results in chewy, nutritious bars that are perfect for snacks or dessert. Made with simple ingredients, these bars are not only delicious but also cater to various dietary preferences, including vegan and gluten-free options. Whether you’re looking for a quick treat or a healthy meal prep idea, this recipe will surely satisfy your chocolate cravings while keeping you energized!
Why You’ll Love This Bake Chocolate Oat Bars
These Chocolate Oat Bars offer numerous benefits that make them a favorite among snack lovers:
- Nutritious and filling, providing a good balance of protein and fiber.
- Quick and easy to prepare, perfect for busy schedules.
- Versatile—can be customized with nuts, seeds, or dried fruits.
- Great for meal prep, making it easy to grab a healthy snack.
- Kid-friendly and suitable for lunchboxes.
- Can be made vegan or gluten-free without losing flavor.
- Rich chocolate flavor that satisfies sweet cravings.
This recipe for Baked Oatmeal Chocolate Bars is a go-to for anyone wanting a guilt-free snack option that is both tasty and nutritious. Plus, it fits perfectly into a vegetarian diet!
Ingredients for Bake Chocolate Oat Bars
Gather these items:
- 2 cups rolled oats
- 1 cup creamy peanut butter (or nut butter of choice)
- ½ cup honey (or maple syrup for a vegan option)
- ½ cup unsweetened cocoa powder
- ½ cup chocolate chips (semi-sweet or dark)
- 1 teaspoon vanilla extract
- ¼ teaspoon salt
- Optional toppings: shredded coconut, crushed nuts, or extra chocolate chips
How to Make Bake Chocolate Oat Bars Step-by-Step
- Step 1: Line an 8×8 inch baking dish with parchment paper, allowing some overhang.
- Step 2: In a large mixing bowl, combine the rolled oats, cocoa powder, and salt. Stir until evenly mixed.
- Step 3: In another bowl, mix together the peanut butter, honey, and vanilla extract until smooth and fully combined.
- Step 4: Pour the wet mixture into the bowl of dry ingredients. Stir until all oats are well coated.
- Step 5: Fold in the chocolate chips to ensure they are spread throughout the mixture.
- Step 6: Press the mixture evenly into the prepared baking dish, using a spatula or your hands to compact it firmly.
- Step 7: Place the pan in the refrigerator for at least 30 minutes to allow the bars to set.
- Step 8: Once set, use the overhanging parchment paper to lift the bars out of the pan. Cut into squares or rectangles based on your preference.
- Step 9: Place any leftovers in an airtight container and store in the fridge for up to a week.
Pro Tips for the Perfect Bake Chocolate Oat Bars
Keep these in mind:
- Adjust sweetness to your preference by using more or less honey or maple syrup.
- Try different nut butters for varied flavors.
- Store in the fridge for best texture.
- For chewy chocolate oat bars, ensure you press the mixture firmly into the dish.
- Experiment with toppings like shredded coconut or crushed nuts for added texture.
Best Ways to Serve Bake Chocolate Oat Bars
These bars are incredibly versatile! Serve them:
- As a quick breakfast option paired with yogurt.
- With a glass of milk or a smoothie for a filling snack.
- As a healthy dessert option after dinner.
They’re also a fantastic choice for chocolate oatmeal snack bars that kids will love!
How to Store and Reheat Bake Chocolate Oat Bars
To keep your bars fresh, use the final instruction from the recipe: place any leftovers in an airtight container and store in the fridge for up to a week. These bars can also be frozen for longer storage, making them perfect for meal prep. Just thaw in the fridge before serving.
Frequently Asked Questions About Bake Chocolate Oat Bars
What’s the secret to perfect Bake Chocolate Oat Bars?
The key to perfect homemade chocolate oat bars lies in pressing the mixture firmly into the dish and allowing enough chilling time in the fridge. This ensures a firm texture that holds together well.
Can I make Bake Chocolate Oat Bars ahead of time?
Absolutely! These bars are ideal for making ahead of time. Just prepare them, let them set in the fridge, and they’ll be ready for snacks throughout the week!
How do I avoid common mistakes with Bake Chocolate Oat Bars?
Avoid common mistakes by measuring your ingredients accurately and ensuring to mix well. Also, don’t skip the chilling step; it’s essential for the right texture!
Variations of Bake Chocolate Oat Bars You Can Try
Don’t hesitate to get creative with your easy chocolate oat bars recipe! Here are some variations:
- Add nuts and seeds for extra crunch and nutrition.
- Incorporate dried fruits like cranberries or apricots for added sweetness.
- Use different flavors of nut butter, like almond or cashew.
- For a gluten-free option, ensure all ingredients are certified gluten-free.
With these tips, you’ll have a delightful treat that everyone will love!
For more delicious recipes, check out our Easy Avocado Toast Recipe or try our Spaghetti with Garlic and Oil for a quick meal!
For more tips on healthy snacking, visit Healthline’s guide to healthy snacks for expert advice!
Print
Bake Chocolate Oat Bars: 7 Irresistible Recipes to Savor
- Total Time: 45 minutes
- Yield: 16 bars 1x
- Diet: Vegetarian
Description
No-Bake Chocolate Oat Bars are a delicious and easy treat.
Ingredients
- 2 cups rolled oats
- 1 cup creamy peanut butter (or nut butter of choice)
- ½ cup honey (or maple syrup for a vegan option)
- ½ cup unsweetened cocoa powder
- ½ cup chocolate chips (semi-sweet or dark)
- 1 teaspoon vanilla extract
- ¼ teaspoon salt
- Optional toppings: shredded coconut, crushed nuts, or extra chocolate chips
Instructions
- Line an 8×8 inch baking dish with parchment paper, allowing some overhang.
- In a large mixing bowl, combine the rolled oats, cocoa powder, and salt. Stir until evenly mixed.
- In another bowl, mix together the peanut butter, honey, and vanilla extract until smooth and fully combined.
- Pour the wet mixture into the bowl of dry ingredients. Stir until all oats are well coated.
- Fold in the chocolate chips to ensure they are spread throughout the mixture.
- Press the mixture evenly into the prepared baking dish, using a spatula or your hands to compact it firmly.
- Place the pan in the refrigerator for at least 30 minutes to allow the bars to set.
- Once set, use the overhanging parchment paper to lift the bars out of the pan. Cut into squares or rectangles based on your preference.
- Place any leftovers in an airtight container and store in the fridge for up to a week.
Notes
- Adjust sweetness to your preference by using more or less honey or maple syrup.
- Try different nut butters for varied flavors.
- Store in the fridge for best texture.
- Prep Time: 15 minutes
- Cook Time: 0 minutes
- Category: Dessert
- Method: No-Bake
- Cuisine: American
Nutrition
- Serving Size: 1 bar
- Calories: 180
- Sugar: 8g
- Sodium: 100mg
- Fat: 9g
- Saturated Fat: 2g
- Unsaturated Fat: 7g
- Trans Fat: 0g
- Carbohydrates: 20g
- Fiber: 3g
- Protein: 5g
- Cholesterol: 0mg


Leave a Reply